Creating your first beer recipeUpdated 5 months ago
This article explains the making of your first recipe. If you rather watch a video about it, check out this link! https://youtu.be/0MKkx-iNbSM
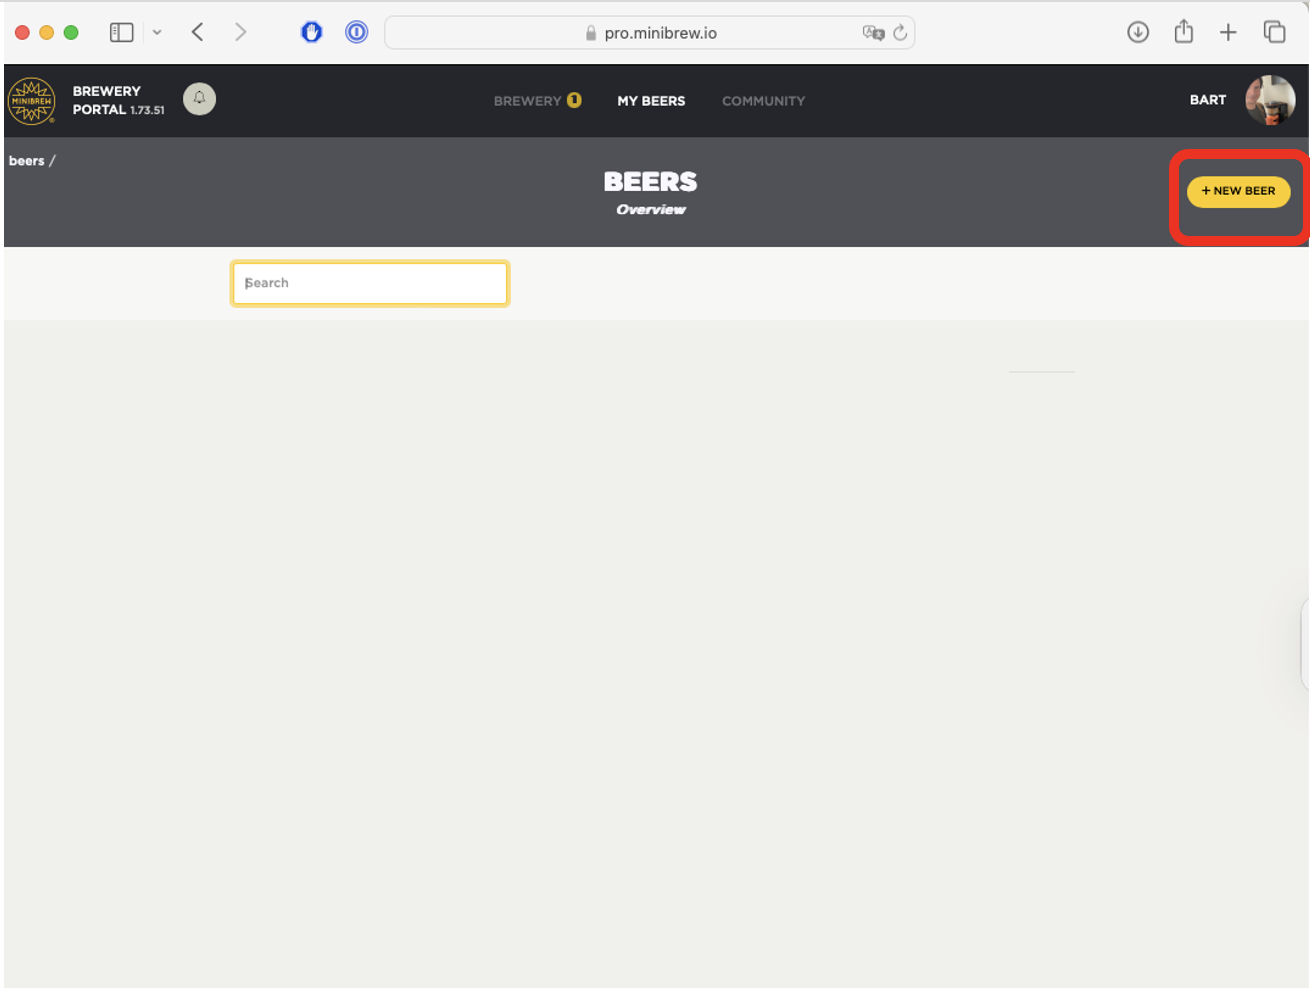
1. Go to the My Beers tab and click “New BEER” at the top menu.
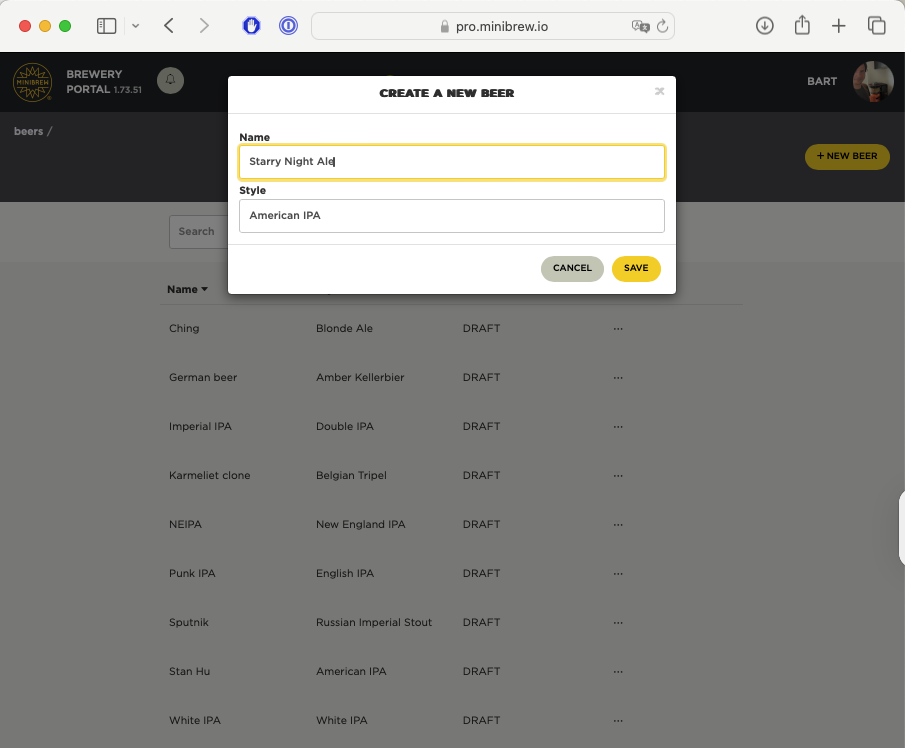
2. Name It & Pick a Style: Give your beer a fun name (like “Starry Night Ale”) and choose a style from the dropdown (e.g., IPA, Stout).

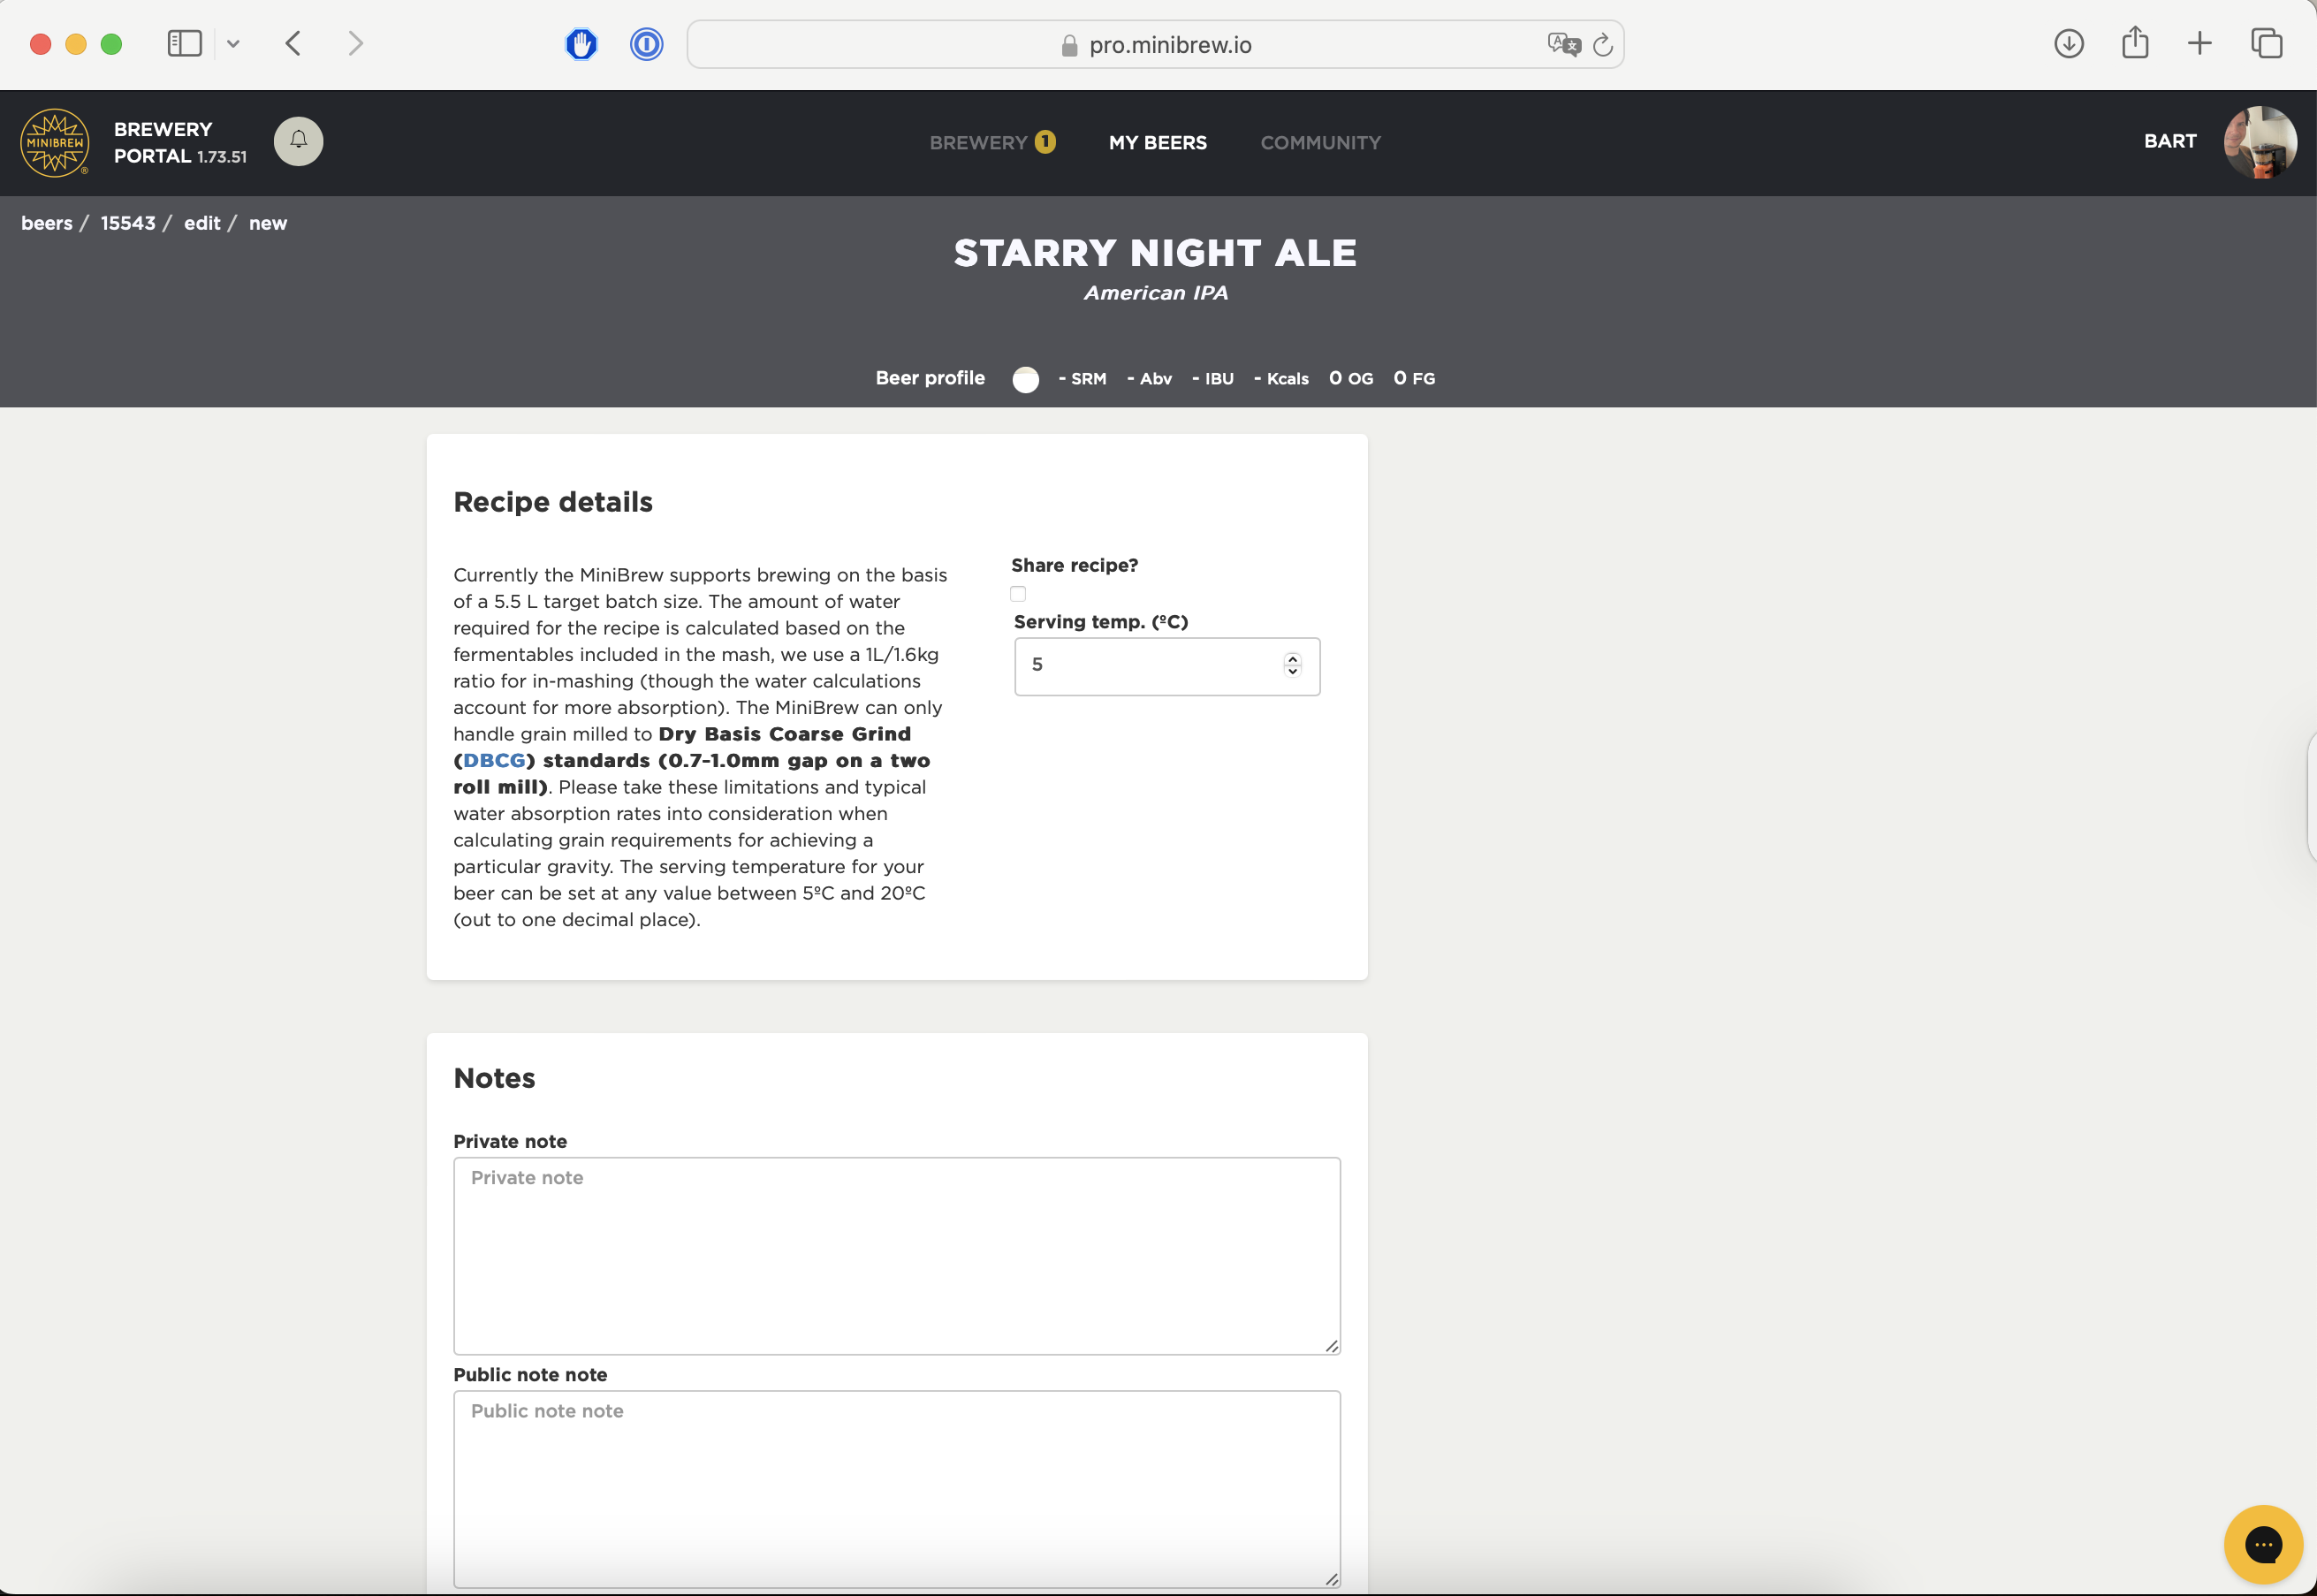
Volia, you create the raw structure of your recipe. Let's build this into a complete recipe that your can brew.
Tips & Notes
Malt Crush Size: For best results with MiniBrew, aim for grains crushed to about 0.027-0.039 inch (0.7 to 1mm) —not too fine or coarse. This helps water flow and sugar extraction.
Your Personal & Public Notes: Each recipe has a notes section. Jot your own reminders (e.g., “Stir extra at mash”) and, if you share your recipe, leave tips for other brewers to follow.
3. Build Your Grain Bill:
Click “+FERMENTABLE” to add grains or sugars.
For each, pick from the list or click “+ Add ingredient” to enter your own (name, type, color SRM, mash needed, yield, moisture).

Mash Schedule:
Almost all recipes have 1 mashing stage. 🤏 Think of it like giving your grains one big warm hug.
Only if you want a super-strong beer (high ABV) do you add a 2nd mash stage, click +MASHING STAGE.”
Grain Choices: Pick from our ingredient list or click + Add ingredient to add your special grain.
Malt Limits: Use at least 1.2kg and no more than 2.3kg oz of malt—this keeps your mash just right.
At specific temperatures, a range of enzymes are active that break down the starch inside the grains/malts. Usually, the mashing temperatures lie between 62 and 72C.
Once your stages are set, click +STEP under each stage to choose the warm-up temperature and time (like warming milk).
Once you have selected a malt and filled in a quantity value, a guideline will appear on the left and top sides. Want to know more about what the details mean? Check our legend article
4. Define Your Hop setup
Hops automatically go into the kettle at the right times—just pick your hops and set when they pop in.

Bitter vs. Aroma Hops:
Bitter hops have lots of alpha acids, making your beer more bitter.
Aroma hops add smell and gentle flavor, with fewer alpha acids.
Boil Time: Most brews boil for 60–90 minutes.
Timing Matters: The longer a hop stays in the boil, the more bitter it gets; shorter times give more aroma.
Example: A 60-minute boil with 3 hop additions might look like this:
First hop goes in at start (60 min) for max bitterness.
Second hop at 30 min left for balanced flavor.
Final hop at 5 min left for aroma boost.
Click “+HOP” to add hops. Choose from the list or “+ Add ingredient” (enter name, purpose, alpha acids).
For each addition, set the duration (how many minutes before the end of the boil).
You can use up to 6 slots; to add more, combine ingredients with the same time into one slot.
Add Extras:
Click “+INGREDIENT” under Boil to add spices, fruits, or other adjuncts (type, notes).
Click “+INGREDIENT” under Fermentation to dry-hop or add other ingredients (select stage and step).
5. Choose Your Yeast:
Under FERMENTATION, select which stage, Primary, Secondary, or Conditioning, you want to adjust, then click “+step” to set temperature and duration.
Select a yeast from the list or “+ Add ingredient” (enter name, type, attenuation, lab, notes).
You can reorder stages with the arrows. Remember: there should be at least one Primary and one Conditioning stage; carbonation is automatic for two days at the end.
6. Check Your Beer Profile:
As you fill in ingredients and steps, watch the proper panel update with SRM (color), OG (gravity), IBU (bitterness), ABV (alcohol), Kcals, and FG (final gravity).
Save & Brew: Click “SAVE” to finish. If your recipe meets system limits, it’s Brewable; otherwise, you’ll see errors (e.g., too much grain). Fix any issues, then hit “SAVE” again.
Would you be ready to brew? Head back to your Dashboard and click “Start Brew” on your new recipe. Enjoy! 🍻