What, Why and How?Updated 5 months ago
The rinse phase is a pre-cleaning step before the actual brewing starts. During this process, water is heated up and circulated through the base station and smart keg. This is important to ensure a brew starts with a clean sheet, mitigating infection risks and foreign matter. Here is the setup of how it looks.
Step 1 - Ensure the water in-/outlet is connected
For the brewing process, which includes the rinse phase, a water inlet and outlet connection must be established. Make sure that both inlet and outlet tubes are connected and that the water supply is open, enabling the base station to access the water.
Step 2 - Filling the Smart Keg
Fill the keg with approx. 2.5L of tap water. To speed up the rinse slightly, hot water (max. 80 °C) can be used instead.
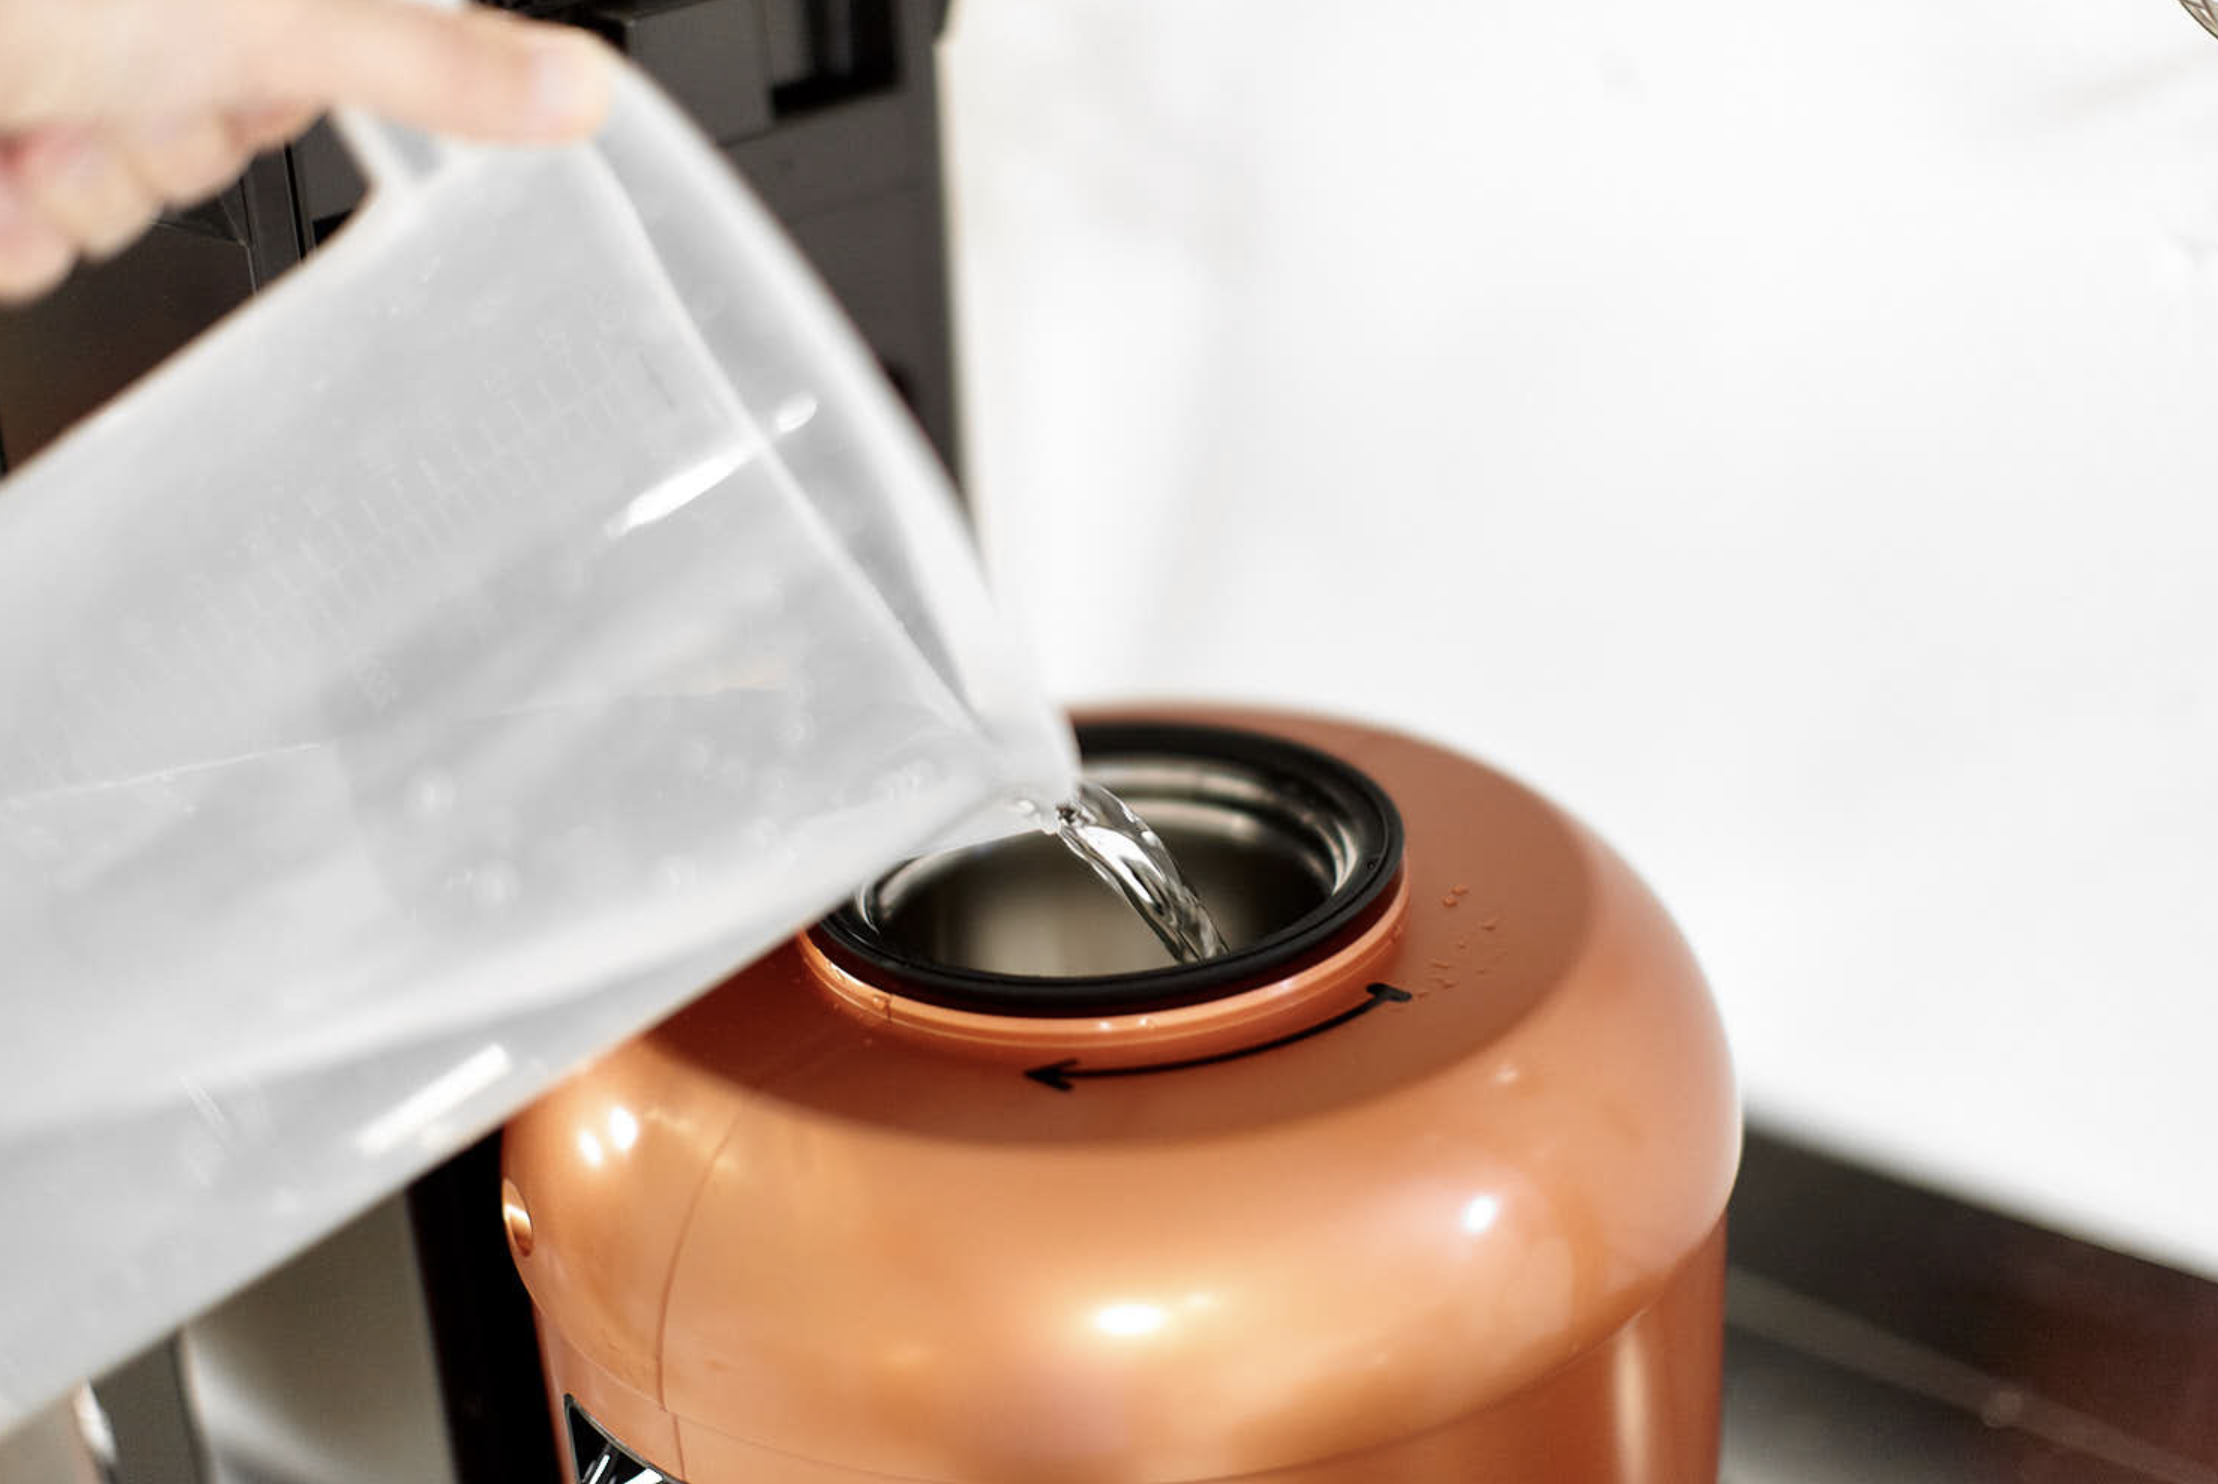
Note: make sure NOT to use any water containing chemicals such as chlorine for the rinse or brewing, as this will affect the fermentation negatively.
Step 3 - Attach Keg lid & Rinse connector
Now that the keg has been filled with water the rest of the rinse equipment has to be installed.
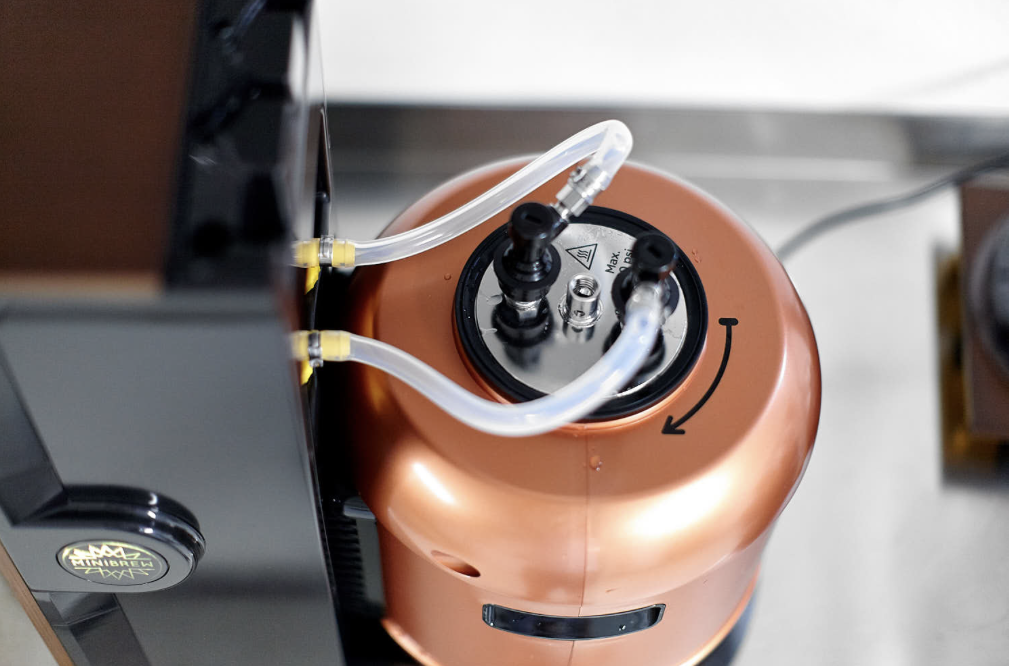
3.1Take the keg lid and remove the overpressure valve (black valve in the middle of the lid), then attach the lid to the keg. Next, take the rinse connector and connect both ends to the black ball lock connectors.
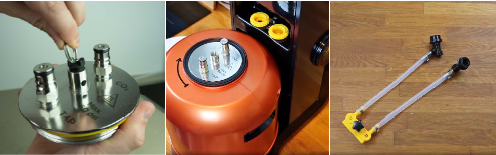
3.2 Attach the rinse connector (yellow component) to the base station. Then attach the ball locks by holding up the sleeve and pushing it onto the keg lid post.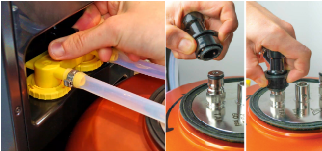 3.3 The rinse setup is now ready to go and should look like this.